


Actual color may vary from on-screen representation.

VALSPAR’S ONE GALLON CHALLENGE
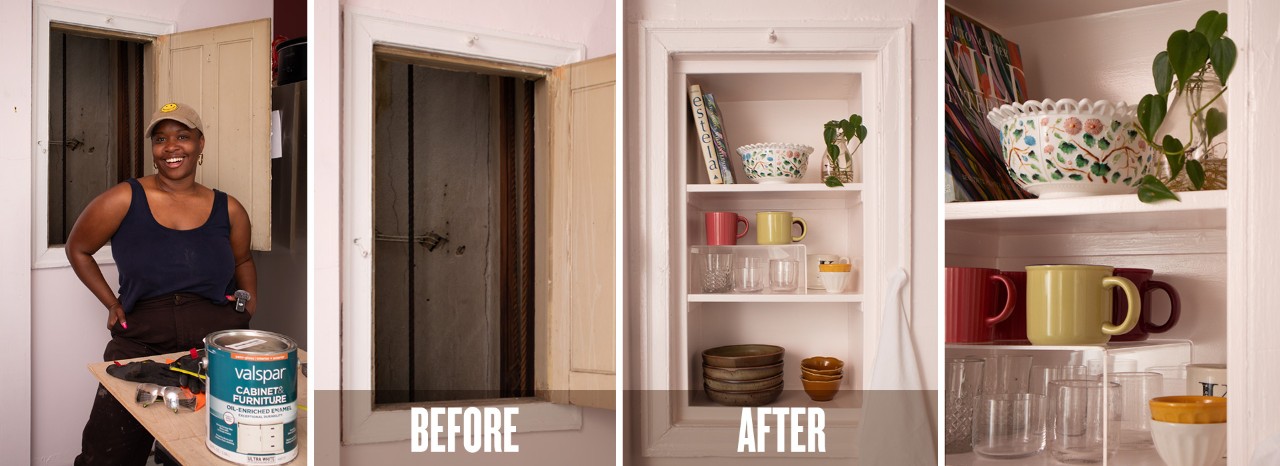
A Dumbwaiter Conversion
STEP-BY-STEP INSTRUCTIONS
Measuring twice (or three times) is an essential first step, especially in older homes where nothing is straight! I created a cut sheet and used a circular saw to cut down the plywood sheets. After doing a dry fit, I labeled each piece and prepped them for joinery using a pocket hole jig. Each piece was joined together using glue and screws to ensure it was sturdy.
Then, I removed the old door and trim to prepare for installation. Using nails, I secured the frame inside the shaft and added wood shims to ensure the box was level.
PRO TIP: Having someone around to help lift and hold everything in place is essential - never be afraid to ask for help!
With the box secure, I measured for shelves, added support rails with glue and nails, and slid the shelves into place. Finally, I added a bit of trim to give this a professional look.
To achieve a seamless and professional look, I used wood filler to fill the screw and nail holes and used a paintable caulk alongside the seams.
PRO TIP: Short nails and a moist paper towel are essential for a good caulk application. A small popsicle stick can also work!
Caulk and wood filler can take a while to dry (1-4 hours, depending on the product), but once they’re dry, I used 220-grit sandpaper to smooth out the caulk lines.
After sanding, I cleaned up all the dust with a vacuum, a moist towel, and a tack cloth.
PRO TIP: It is recommended that you use a heavy-duty primer on raw wood, as wood is very porous. A primer will ensure that you don’t have to apply excessive coats of the more expensive paint.
When I pull out the paint brushes, I know I’m getting to the end of a project, and I can finally start seeing the light at the end of the carpenter pencil!
Once the primer was dry, I went in with the Valspar® Cabinet & Furniture Oil-Enriched Enamel in the color Naivete 7001-21. This paint dries to a smooth factory-like finish and is resistant to stains, scuff marks, and scratches. This is really important as this is one of the DIYs I plan on leaving when I move out of this apartment. I want the next tenant to enjoy this creative storage solution for many years.
A small, angled brush is essential for cutting around the edges and trimming pieces. While the cut-in portions are still wet, I follow up with a flocked foam roller. The experts at Lowe’s highly recommended this roller, as its velvety texture is soft and reduces the chances of visible brush strokes— love it!
After 4 hours, I repeat the steps above to ensure complete coverage.
This paint will be dry to the touch within 2-4 hours, but I waited a few days before using the shelves to give the paint more time to cure.
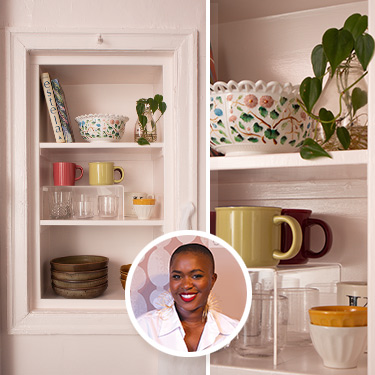
I styled these shelves with my everyday dishes and added little knickknacks and books to give them that personal touch. Acrylic risers and beautiful dishware are all you need to style a shelf like this, but there are no limits to what you can do in your space.
This dumbwaiter conversion was a project I put off for almost two years. Now, after just a few hours, I have the storage I need, and I love it.
